How to make Paper Clay

I fell in love with sculpting with paper mache during my first project five years ago. However, I never really found a recipe that was worth the time and effort and mess that it took to get what I wanted. As a result, I used Celluclay for most projects. However, I recently stumbled upon an incredible blog called, Ultimate Paper Mache where Jonni (the artist and blogger) shares all sorts of tips, tutorials and recipes to help anyone on their way to successfully paper mache-ing. I am blown away by what Jonni can create, but I was especially grateful for the recipe she shared on how to make your own paper mache clay. Hot dog! It is easy as pie, quick, and works like charm!
For my purposes, I ended up altering the recipe just slightly so that I could get the thicker consistency that I like. Here's my version of the recipe but I strongly suggest popping over to Jonni's site where she posts all sorts of details that you might find handy):
Paper Clay:
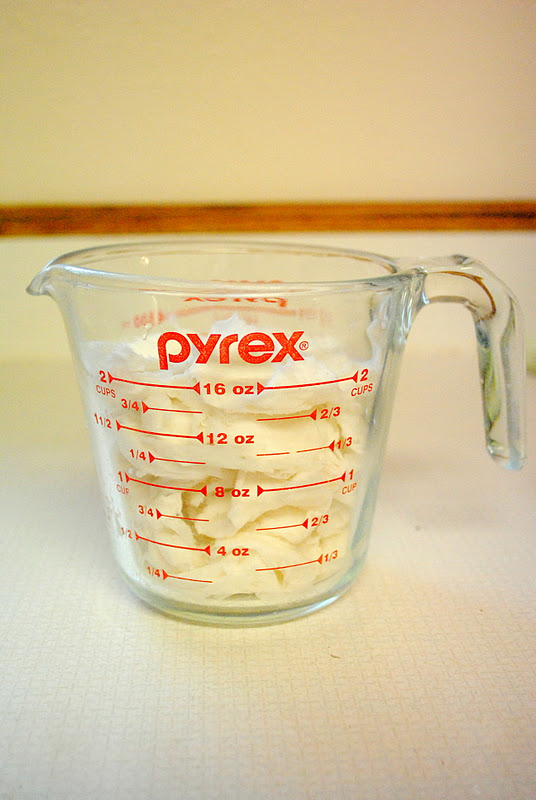
2 Cups toilet paper
1 Cup regular joint compound (the premixed kind. Jonni recommends not using Dap brand since they changed their product and it doesn't work for the recipe anymore).
3/4 Cups paper mache paste or Elmers glue (much cheaper to use your own paste).
3/4 Cups flour
(The original recipe calls for Linseed Oil, but I didn't really find much difference, other than it was smelly and one more thing to keep out of reach of my boys.)
Start off by soaking your toilet paper in water:

When it is fully wet, remove cardboard center, squeeze out as much water as you can and break up into chunks.
Add all ingredients and mix on medium-high for 2-3 minutes and viola! You are ready to sculpt your heart out! Recipe yields 3 Cups of paper clay.

It's always better and cheaper to make it yourself than going and buying it. Less expensive and more enjoyable that way.
ReplyDelete