Aged Specimen Jar Label DIY
The dining room is finished and I’m working on a full post, but in the meantime here’s a little how-to to make these labels. I had a lot of fun and hope this tutorial is helpful. I by no means fancy myself a copywriter and am completely open to suggestions for more label ideas. If I get some I will be more than happy to update the pdfs.

I found a great tutorial from The Craft Junkie and did a little tweaking. The project originally calls for printing on card/photo stock and then soaking it in coffee, but our ink will run when bathed. Hell, the humidity in the morning at the Farmers Market can make my stuff a little weepy. So I ran the ‘treatment’ and then printed. All images link to larger sizes.
1. Ball up your paper into a tight ball. I pulled it apart and balled it again. Stick it into a coffee bath. It originally called for instant coffee and water, but I used leftover coffee. We make rocket fuel and knew it would do just fine.
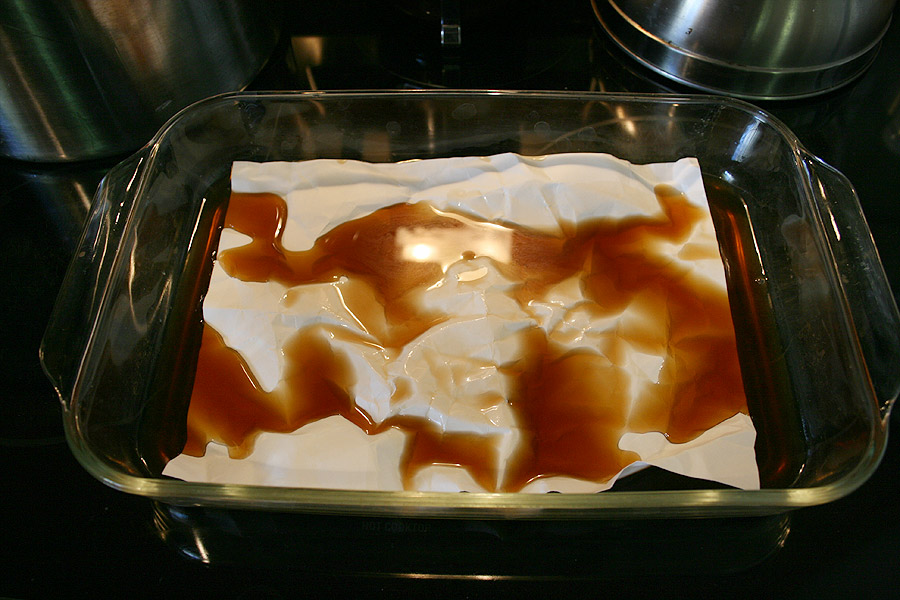
I played with it a bit and started to smooth it out as it began to absorb the liquid. Depending on the thickness of the paper, it can stay in anywhere from about a minute to about two minutes.
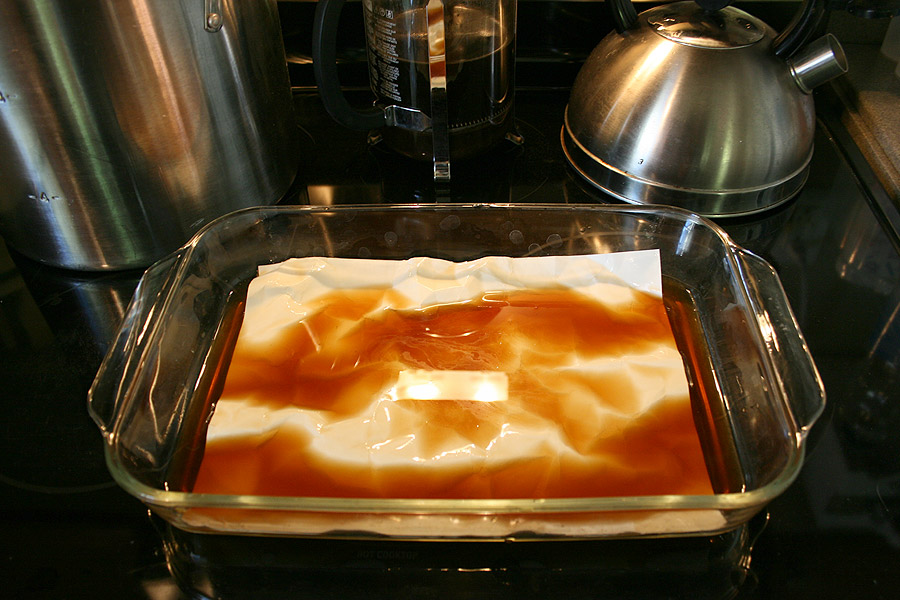
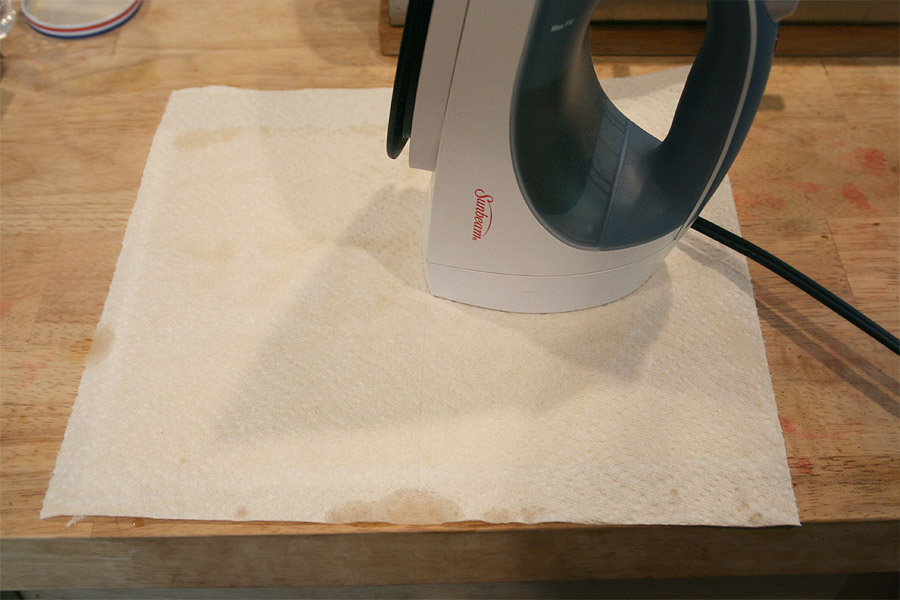
2. Once it is saturated to your desire, pull it out and let it drip for a few seconds. At this point you can hang it, lay it, or iron it between paper towels to dry. I chose the latter for expediency.
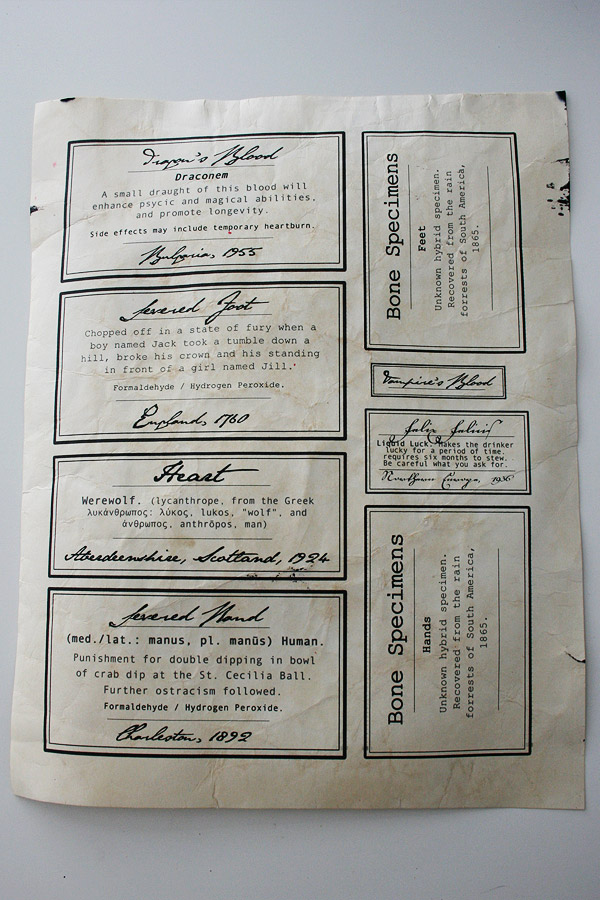
3. Once it’s dry – and it has to be dry – set it up in the printer feed and initiate printing. Be sure to set the printer margins to 0! The paper isn’t very flat so I made sure to stand by the printer and keep an eye on the feed.
4. Cut and glue to what you’re labeling. I used a glue stick for our project as several labels went on antique bottles and I need to get them off with ease. The ink got a little blotchy on the sides and in a couple places in the label areas, but I think it adds a little character.
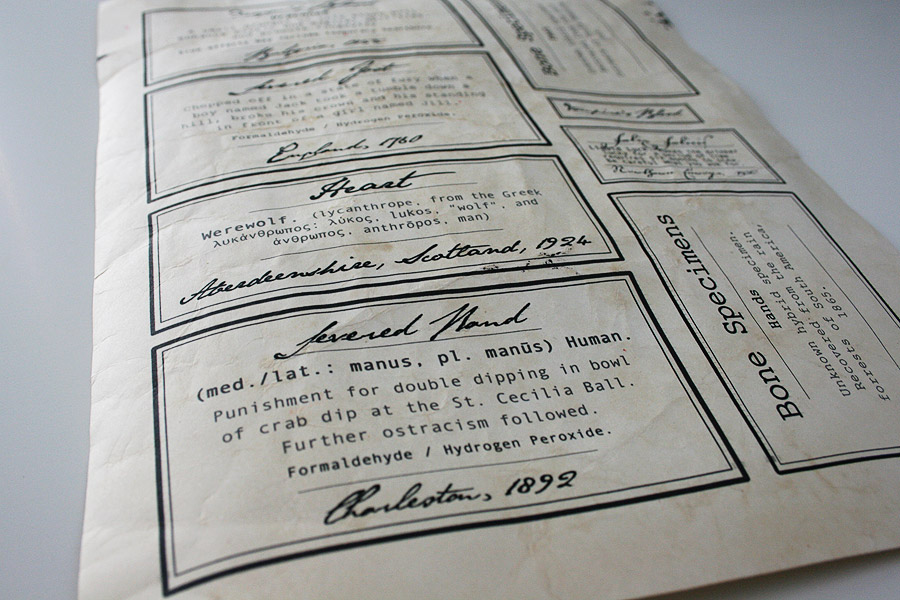
Typos and such have been fixed since this was taken. 
Update 10.9.2013
I noticed the last time I made these that I wasn’t happy with the edges. Once they’re cut, the original paper color shows around the edges. This year I tried to fix the issue. Here are somecrappy quick cell phone images I took while making the new labels this weekend:
I noticed the last time I made these that I wasn’t happy with the edges. Once they’re cut, the original paper color shows around the edges. This year I tried to fix the issue. Here are some


I have the label files hosted in pdf format if anyone is interested in downloading them.
I hope this provides a little inspiration and I would love to see what others do with their labels!
Very god info. Lucky me I discovered your blog by accident. I have book-marked it for later!
ReplyDeleteThis article was written by a real thinking writer. Keep on writing good article like this
ReplyDeleteVery nice article and straight to the point content works. Thank you for fantastic post
ReplyDeleteI have taken this blog that written very well. I like you. I'll support you for your writing
ReplyDelete